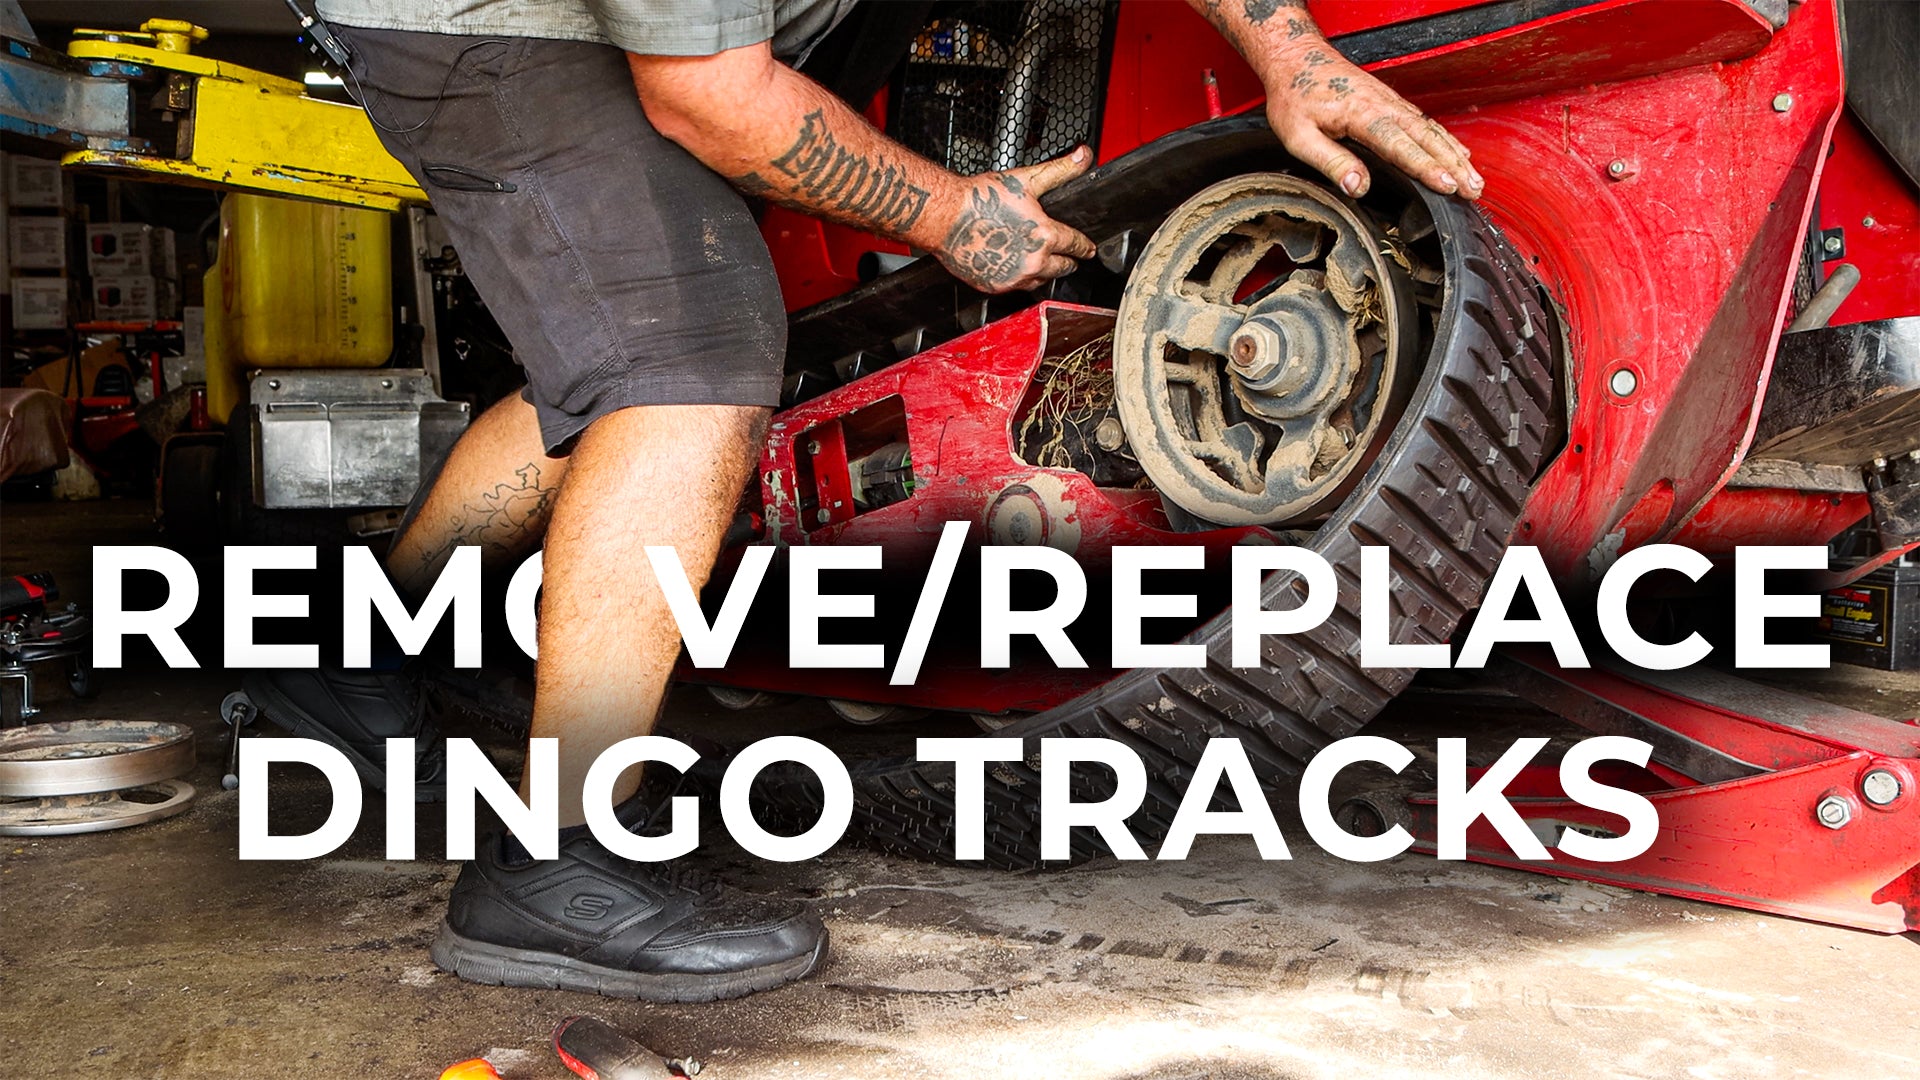
Step-by-Step Guide to Adjusting the Tensioner and Changing the Belt on Your Machine
Maintaining your machine regularly is crucial to ensuring its longevity and optimal performance. One common issue that many face is adjusting the tensioner and changing the belt. This guide will walk you through the necessary steps and tools required to perform this task efficiently.
Required Tools
Before you begin, make sure you have the following tools ready:
- 7/16 inch wrench
- 7/16 inch socket on a ratchet
- 1 and 1/2 inch socket on a 1/2 inch ratchet
- 1 to 2 inch extension for the ratchet
- Breaker bar (any size)
- Dead blow or rubber mallet
Procedure
Step 1: Loosen the Locking Nut
Start by using your 7/16 inch wrench to loosen the locking nut on the tensioner. This is the initial step to ensure that you can adjust the tensioner smoothly without any obstruction.
Step 2: Release the Tension
Take your 1/2 inch ratchet with the extension and use it to release the tension off the belt. The tension release point is typically located right in the center of the mechanism. Push it all the way back to fully release the tension.
Step 3: Addressing Stuck Components
Sometimes, after attempting to release the tensioner, the back wheel may not move forward as expected. If this occurs, strike the back part of the wheel gently but firmly using your mallet. This should help in releasing any part that might be slightly stuck.
Step 4: Loosen the Front Wheel Nut
Next, switch to your 1 and 1/2 inch socket and loosen the nut on the front wheel. Once loosened, you can remove the wheel, noting that one side may have a washer which should be kept for reassembly.
Step 5: Remove the Belt
With the front wheel removed, you should now be able to easily slide the belt off the mechanism.
Installing the New Belt
Step 1: Position the New Belt
Start by placing your new belt over the rear drive wheel first. Then, wrap the front part of the belt around the other side of the pulley system.
Step 2: Reinstall the Pulley
Once you have the belt positioned correctly, you can begin to reinstall the pulley. If necessary, use your mallet to gently tap it back into place, ensuring it is securely fitted.
Step 3: Align and Install the Nut
After the pulley is in place, slide the front wheel back into position, washer on the outside, and reinstall the nut by hand initially. Then tighten it securely with your 1 and 1/2 inch socket.
Step 4: Retension the Belt
Moving back to the tensioner, it’s time to correctly retension your belt. A good rule of thumb for the correct tension is to ensure that a square block can fit snugly between the two lines inside the green tension measurement area on the mechanism.
Step 5: Final Adjustments
Recheck the alignment of the tensioner locking nut. There should be a notch on the tensioner that aligns with a hole on the frame, allowing you to reinsert the locking nut and bolt securely. Once aligned, tighten it to ensure your tension is optimal.
Conclusion
With your tensioner adjusted and the new belt installed, your machine should be ready for operation. This procedure not only saves you from potential mechanical failures but also ensures that your machine runs smoothly and efficiently. Regular checks and maintenance are key to extending the life and functionality of your equipment. Remember, taking the time to understand and care for your machine can significantly impact its performance and reliability.
Check out more fun and informative videos on our YouTube Channel here:
https://www.youtube.com/@mainstreetmower
#dingo, #skidsteerloader, #mower tracks replacement, #replace mower belt, #belt tensioner adjustment, #tensioner lock nut, #dead blow mallet, #breaker bar, #7/16 wrench, #1/2 inch ratchet, #1-2 inch extension, #mower repair, #mower maintenance, #belt tension check, #mower pulleys, #split pulleys, #notched tensioner alignment, #tracks installation guide, #tracks

